Replacing a projector or wall chart with a computer-based acuity system takes about half an hour and a few deliberate configuration choices. This guide walks through each step so your digital eye chart is calibrated to your own lane and ready for clinical use.
What you need before you start
- A 20–24″ display for the patient (matte or anti-glare preferred)
- Any modern computer with a web browser
- A tape measure and the acuity software
Step-by-step setup
Step 1 — Choose and position the patient display
Select a monitor with a native resolution high enough to render small optotypes crisply. Mount it at the patient's eye level at the far end of the lane. Avoid glossy screens that reflect room lighting, which reduces effective contrast.
Step 2 — Configure the dual-display layout
Set the clinician's control screen as the primary display and the patient-facing monitor as the secondary, extended display. AcuityMaster runs in a single browser window, so drag that window onto the patient monitor and press H to hide the control menu — the patient then sees only the chart. Single-screen and mirror modes are also available for compact lanes.
Step 3 — Measure the patient-to-screen distance
Measure the exact distance from where the patient sits to the face of the monitor, in feet or meters. Accuracy here matters: the software uses this number to compute correct optotype sizes. If you use a mirror, measure the total optical path length.
Step 4 — Calibrate optotype size
Enter the distance and the physical screen dimensions into the software. It then calculates the correct pixel size for each acuity line so that, for example, the 20/20 row subtends exactly 5 arc-minutes at your specific distance. Verify by measuring a displayed letter against the on-screen calibration guide.
Step 5 — Set monitor luminance
Aim for a white background between 80 and 320 cd/m² — the range acuity-chart standards specify. Most clinical monitors sit in it at roughly 70–85% brightness in normal room lighting, but that is a rule of thumb, not a measurement: only a luminance meter tells you what your own screen is doing.
Step 6 — Set up mirror mode if needed
In short lanes, enable mirror mode to flip the chart for display via a mirror behind the patient. The software reverses the optotypes so they read correctly in the reflection.
Verifying the setup before you trust it
A lane that is configured is not the same as a lane that is correct. Three checks take five minutes and catch nearly everything that goes wrong.
Check the physical distance, not the entered one
Measure from the patient’s eye position — the headrest or the front of the chair, not the back — to the face of the screen. A lane entered as 20 feet but actually 18 feet 6 inches renders every optotype about 8% too large, which is enough to move a borderline patient a line. Re-measure after any furniture change; chairs migrate.
Confirm one optotype against a ruler
Display a 20/200 letter and measure its height on the glass. At 20 feet a 20/200 optotype should be about 88 mm tall; the exact figure scales linearly with distance. If the measured height does not match what the distance implies, the display scaling is wrong — usually an operating-system display-scaling setting, not the software.
Walk to the patient’s chair and look
Sit where the patient sits. Check for glare from windows or overhead lights on the screen face, reflections of the technician’s monitor, and whether the chart is centered at eye height. Problems that are invisible from the technician’s position are the ones that quietly degrade every measurement in that room.
Display settings that undermine acuity testing
Consumer displays ship with processing that helps films and hurts optotypes. Turn these off on the patient-facing screen:
- Dynamic contrast and auto-brightness — these change luminance according to screen content, so a chart of mostly white background gets treated differently from a mostly black one.
- Night shift, blue-light filters, and adaptive color — scheduled color shifts mean an afternoon result is not comparable with a morning one.
- Sharpening and edge enhancement — these artificially crispen optotype edges, which is exactly the cue the test is trying to measure.
- Energy-saving dimming — a screen that dims after inactivity will be dim at the moment a patient reads it.
Set the display to its standard or sRGB picture mode, fix the brightness, and leave it. Then write the setting down, because someone will change it.
Multi-lane practices: keeping rooms comparable
The point of standardizing is that a patient seen in room 3 today and room 1 next month produces comparable numbers. That requires the same testing distance in every lane where possible — and where it is not possible, the distance recorded per lane and the software configured per lane rather than copied.
Two rooms with the same monitor model, the same distance, and the same brightness setting will agree. Two rooms that differ in any of the three will not, and the difference will look like clinical change in the chart.
What to re-check, and when
| Trigger | What to verify |
|---|---|
| New monitor, or a monitor swapped between rooms | Distance, optotype size against a ruler, brightness, picture mode |
| Room or furniture rearranged | Measured distance, chart height, glare from the patient’s seat |
| Operating-system update | Display scaling — updates reset it, and it silently rescales the chart |
| New technician | That they know the distance is fixed and must not be “adjusted” per patient |
| Routine | A ruler check once or twice a year takes two minutes |
Calibration is the whole game. A digital chart is only as accurate as its distance setting. Re-verify calibration any time you move the monitor or change the lane layout.
Why software beats a projector here
Once calibrated, a digital system gives you every chart type — Snellen, ETDRS, color vision, reduced-contrast acuity, Worth 4-Dot, and pediatric optotypes — from the same screen, with randomized letters to prevent memorization. There are no bulbs to replace and no warm-up delay between patients.
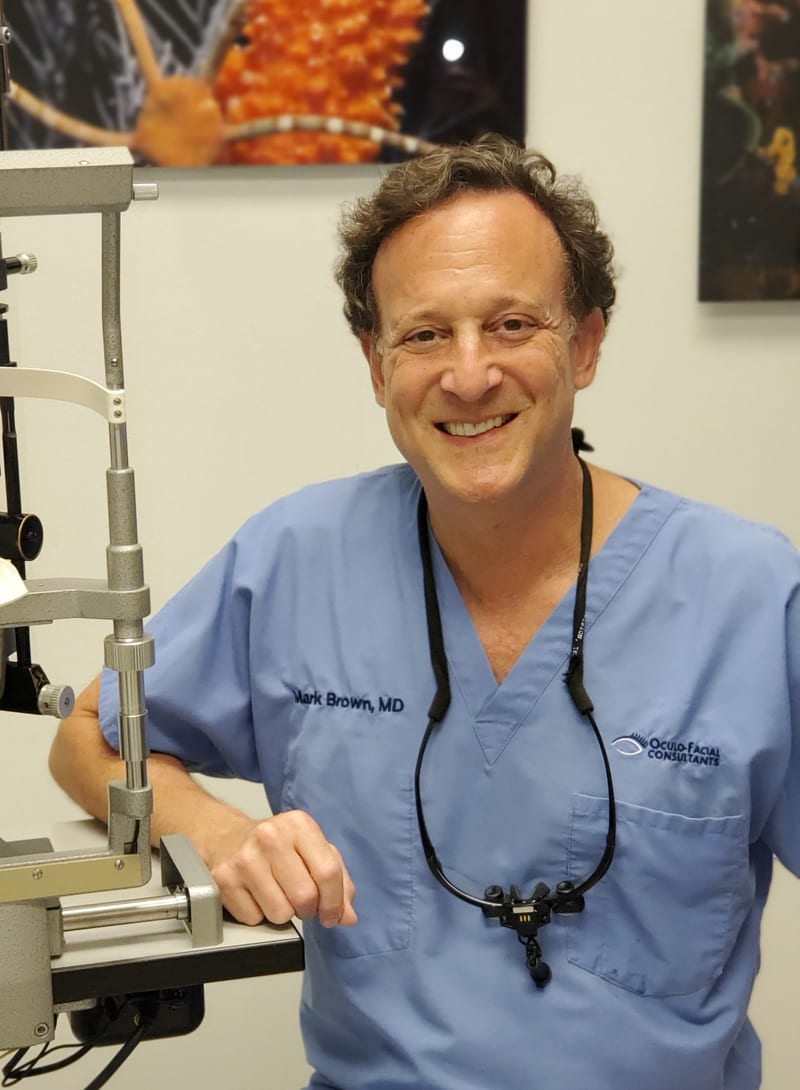
Mark S. Brown, MD
Oculoplastic surgeon at Oculo-Facial Consultants and founder of AcuityMaster. In clinical practice since 1998, Dr. Brown built AcuityMaster to bring properly sized, distance-calibrated acuity testing to every exam lane.